Grinding cooked meat in a food processor wasn’t as easy as I thought it would be, because there are a few essential steps to take to ensure the results aren’t mushy above all things.
There are several reasons for grinding cooked meat in a food processor including baby feeding, sprinkling on other dishes, or to use in the dressing of salads.
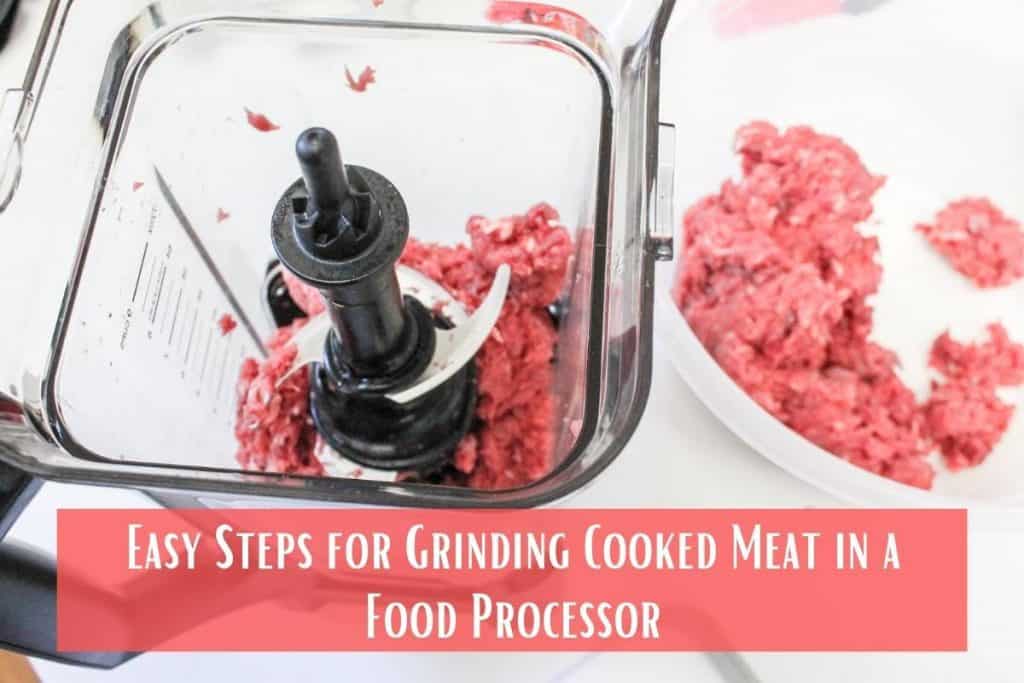
Table of Contents
- 1 What to Expect when Grinding Cooked Meat?
- 2 How to Prepare the Meat Before Grinding?
- 3 How to Grind Cooked Meat in a Food Processor – A Step by Step Guide
- 4 What is the Best Food Processor for Grinding Cooked Meat?
- 5 What Happens when You Grind Cooked Meat?
- 6 Can I Grind Cooked Chicken in a Food Processor?
- 7 Can you Mince Cooked Beef in a Food Processor?
What to Expect when Grinding Cooked Meat?
Even though it may not be visible at first glance, grinding cooked meat will likely cause loss of nutrients, and may even alter its taste.
As mentioned earlier, grinding cooked meat also alters its texture, where it will probably be very mushy depending on the type of grinding method such as meat grinder or food processor.
Grinding cooked meat can also be a daunting process, given that you will have to shred or cut the meat into chunks, and most importantly remove the bones before the grinding process.
How to Prepare the Meat Before Grinding?
Preparing cooked meat before grinding is perhaps the most important step of the entire process, and it starts with freezing the meat for half hour or so.
You want the meat to be as cold as possible but not frozen, as this state will probably damage the parts of the meat grinder or food processor.
If you’d like to grind meat that’s already frozen such as cooked pork shoulders, you have to thaw the meat out completely, and grind it while it’s still chill but not frozen.
How to Grind Cooked Meat in a Food Processor – A Step by Step Guide
Step 1: Separate Meat from Bones
After you’ve cooked the meat, the first thing to do is separate the bones if any from the meat.
You can probably get away with grinding bones in a food processor, but they have to be small and soft to prevent damage to the food processor blades, and motor.
However, I don’t recommend grinding even the smallest, softest bones with your food processor.
Step 2: Freeze the Meat for some time
Next, either refrigerate the meat or keep in the freezer for an hour or so. Refrigerating the meat to get it ready for the food processor takes longer than keeping it in the freezer.
The goal with this process is to chill the meat and not freeze it, so don’t leave it the freezer for too long or else it will be too hard for the blades to cut.
Speaking of which, and if you have space, go ahead the chill the food processor blades as well for better grinding results.
Step 3: Chop Meat into small pieces
Once the meat is chilled well, chop it up into roughly one-inch pieces, so that it can be processed easily by the food processor.
Step 4: Grind the Meat in the Processor
Remember, cooked meat is already soft, so you don’t want to over-process it, because this will make it look and feel like paste.
Load the food processor jar with small batches of cooked meat, secure the lid tight, and use the pulse setting for about one or two seconds depending on the type of meat you’re grinding.
Step 5: Check for consistency of Grind
Open the lid, and check the results, and if you notice that the ground meat has uneven texture, repeat step 4.
Step 6: Clean the Food Processor
Lastly, clean the food processor thoroughly to ensure it’s free from any bacteria, so that it’s ready for next use.
What is the Best Food Processor for Grinding Cooked Meat?
When on the shopping trail for the best food processor for grinding meat, I was amazed by the myriad different choices.
But the Ninja Professional Plus food processor is my top choice for several reasons, starting with its great versatility, in that it offers four intelligent modes to choose from including chop, puree and dough.
Adding to this, the Ninja food processor comes with low, high and pulse functionality, making it easier to achieve the texture you desire.

Plus, it is equipped with a robust 1000-watt peak power motor, so you can grind even the toughest ingredients with ease.
The Ninja food processor comes with dedicated blades and disks for a variety of different tasks to perform with a single appliance.
Another key reason the Ninja food processor is a great choice for grinding cooked meat is its large 9-cup capacity, so you can grind more meat at a time.
All the parts of the Ninja Professional Plus food process are crafted from BPA free plastic, and are easy to clean in your dishwasher.
It comes with everything you need to get started right out of the box including a feed chute lid, pusher, dough blade, quad chopping blade, disc adapter, 20-recipe guide, and is backed by a one-year limited warranty against any manufacturer defects.
Pros:
- 4 intelligent modes
- 9-cup capacity
- 1000-watt peak power motor
- Dishwasher safe parts
- 1-year manufacturer warranty
Cons:
- Cannot be used to grind bones
There are several other models as well on the market which I had come across while purchasing a food processor for meat grinding requirements during the pandemic restrictions.
I recently compiled their overview and created a buying and comparison guide of food processors that can be used to grind meat.
What Happens when You Grind Cooked Meat?
If you grind cooked meat in a good meat grinder, then you can probably get some consistent texture with the coarse or even fine grandly plate.
But grinding meat with a food processor will probably not give you consistent texture, so you will have to pulse the meat again.
Additionally, grinding cooked meat in a food processor with its sharp blade will also provide pasty results.
However, there are certain recipes that call for ground cooked meat such as making sausage for pizzas.
Can I Grind Cooked Chicken in a Food Processor?
Yes, you can absolutely grind cooked chicken in a food processor, but you have to remove the bones and chill the meat first.
Since chicken is a bit softer than other meats, it’s a good idea to pulse the blade just for a second and check the texture before giving it another go.
Can you Mince Cooked Beef in a Food Processor?
It’s easy to mince cooked beef in a food processor, as long as you first remove all the bones, cut the meat up into smaller pieces, and chill in your fridge or freezer.
You can pulse the cooked beef for two to three seconds, and check to see if the desired results are achieved.
Make sure you don’t overload the food processor jar to its maximum capacity with the chunks of beef, because doing this will put more pressure on the blades.